My wife and I agreed long ago that our bathroom is in really sad shape and needs remodeled very badly. However neither her nor I can see the sense in paying someone thousands of dollars to do it. Being a handy guy who put himself through college working in building maintenance, I figured I could tackle it, do some cosmetic things and at least make it not look so crappy while only spending very little dough. We also decided that any money for this project would come out of our economic stimulus check.
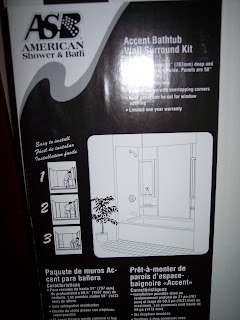
Part 1 – I spent this afternoon yanking out the nasty old tub surround, it was a million years old, was stained and had faded from white to a nasty yellow/brown color. I picked up a new surround at the local true value hardware store in town, they had cheaper ones to pick from, but they were really thin and flimsy, I got this one, several tubes of liquid nails, a replacement water tap handle and a replacement spout for about 150 with taxes.
It was actually pretty easy, just time consuming, and it looks awesome.
Step 1: Rip out the old surround. The glue was so old and dry it wasn’t hard. After that I cleaned up the wall, sanded it and primed it to keep myself happy.

Step 2: Mark the one piece that needs cut for the tap, spigot and shower head. I use the old one as a template, took 2 minutes.
 Marked
 Drilled
Step 3: Next is to start laying he panels on the tub and squirting liquid nails on the back.

Step 4: Stick up the panel, then remove it for a couple minutes, then restick it in place. Repeat for all panels and tape them up into place when finished. Press them firmly against the wall and wait 24 hours before using.

Step 5: Remove tape and caulk all joints.

Step 6: Give it a test drive!
Next weekend: Part II, Re-glazing the tub with an off the shelf refinishing system (cost <$50)!
Some following weekends:
Part III: Covering up the nasty 1954 pink plastic wall tiles with some inexpensive but nice beaded wainscotting.
Part IV: Re-flooring. Why do I need nasty old carpet in the bathroom anyway?